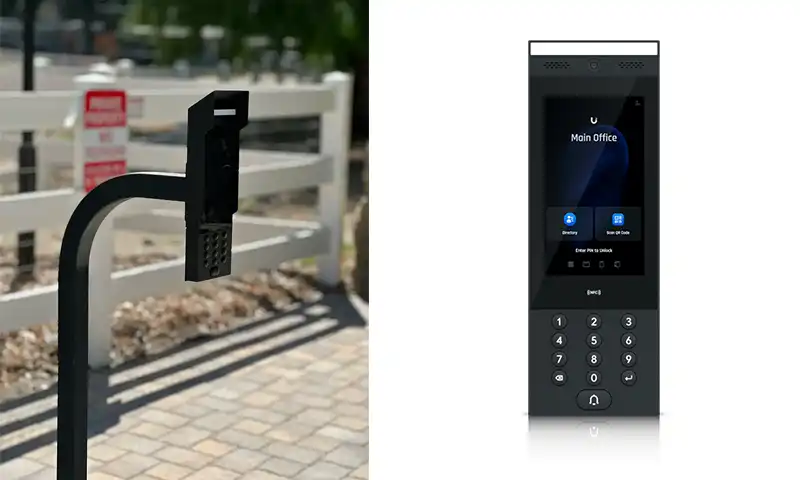
Installation of the Ubiquiti Intercom System at the double door gates.
Environment:
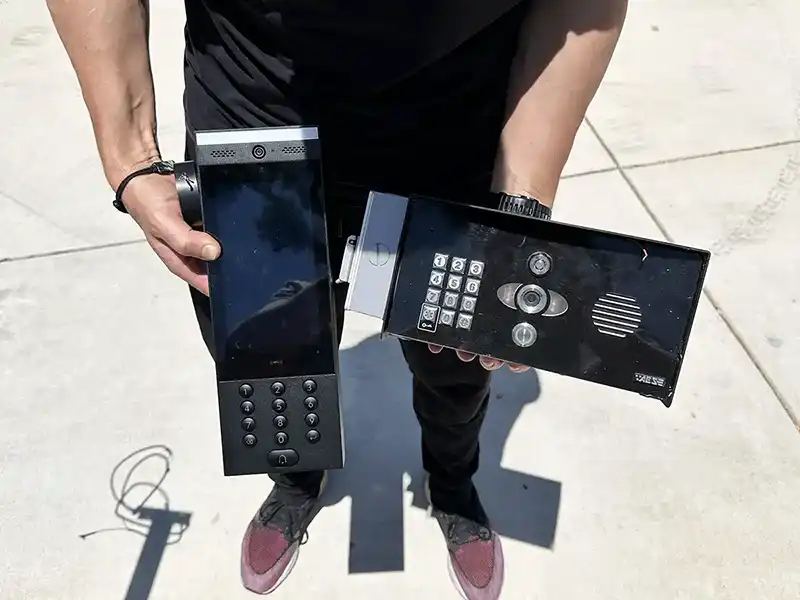
The client has a large plot of land, and the entrance gates are located away from the house. The client is already using Ubiquiti equipment. Cameras are installed throughout the property, and Ethernet lines have been laid to the gates. An old intercom was installed on the gates.
Ubiquiti Equipment:
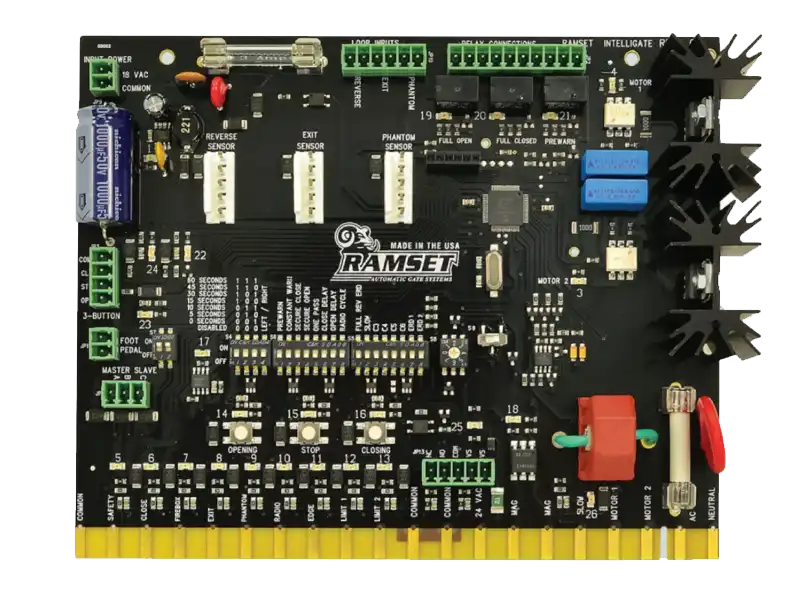
Gate Controller:
Ramset 800-76-50 Control Board
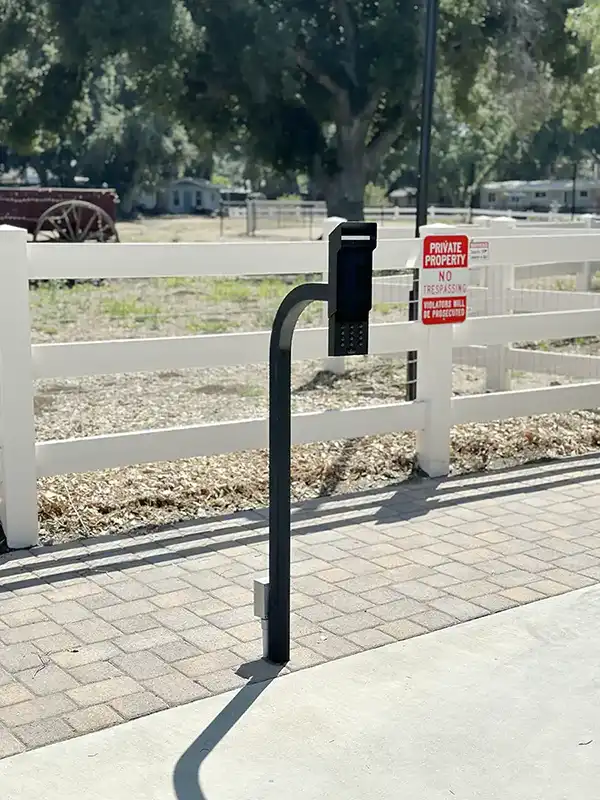
Ubiquiti Intercom Installation
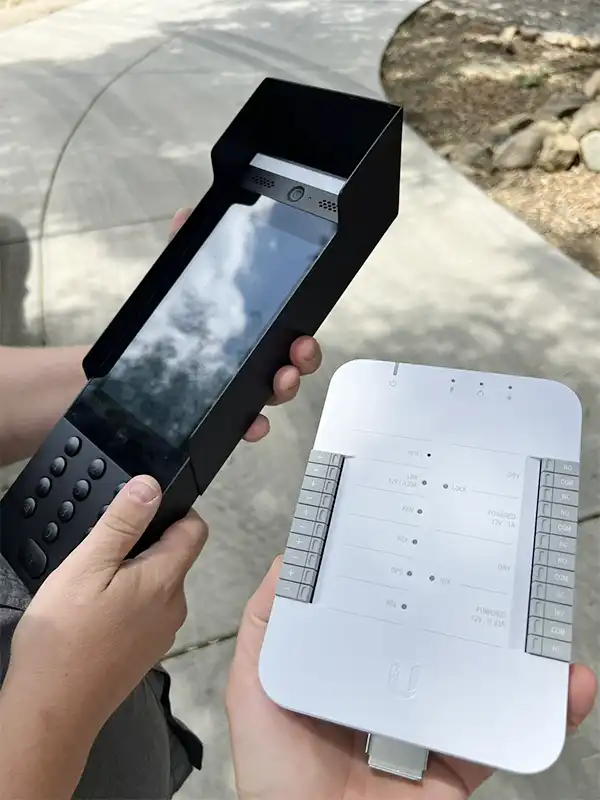
We removed the old intercom and used a gooseneck to install the new one. Additionally, we installed the Ubiquiti Intercom Sunshield, which perfectly matched the holes on the gooseneck. We connected the intercom using the existing Ethernet line that runs from the gooseneck to the box with the hub.
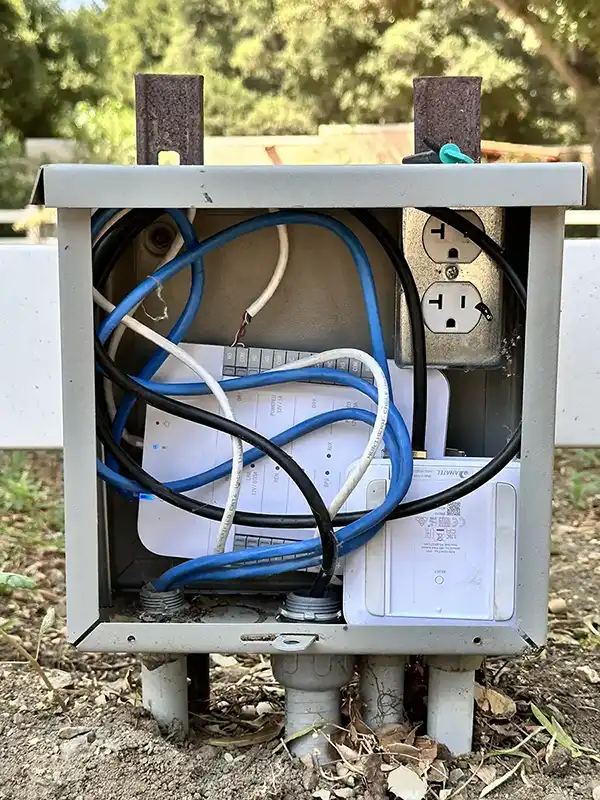
Ubiquiti Access Hub Wiring
We placed the hub inside a weatherproof box at the gates. From the house, we ran an Ethernet with PoE++ to power the hub and the control cables: incoming from the emergency button and outgoing to the gate controller. The intercom was connected by the existing Ethernet line that runs from the gooseneck to the box with the hub.
We connected the emergency button directly to the control cable that goes to the gate controller in parallel with the hub. In this case, the button will function completely independently of the hub.
Ubiquiti Intercom Settings
The client decided not to use the Ubiquiti Intercom Viewer (they might install it in the future) and to receive video calls from the intercom exclusively on their phone. Additionally, at the client’s request, we set up a schedule in the Access Hub settings to keep the gates open during the daytime.
The YesTechie experts have extensive experience in installing the Ubiquiti Access Control System on all types of gates, doors, and elevators. Contact us and we will help you design and implement a project of any complexity.

