Ubiquiti Home Network Design: Balancing Performance, Security, and Budget
Introduction
In this article, we will explore an option for building a home network using Ubiquiti equipment. As a starting point, we will take a common scenario in Los Angeles. A large house where a family lives, actively using the network and the internet.
The adult members of the family use a home office; they need a stable internet connection for work. The older child is a teenager - a gamer, and he needs very fast internet. All family members use Wi-Fi. Network access is also needed for televisions and streaming devices (Apple TV, Roku, etc.), Sonos sound systems, smart thermostats, etc.
Also on the property is an ADU (Accessory Dwelling Unit), which is rented out, and tenants live in it. The ADU also requires network access.
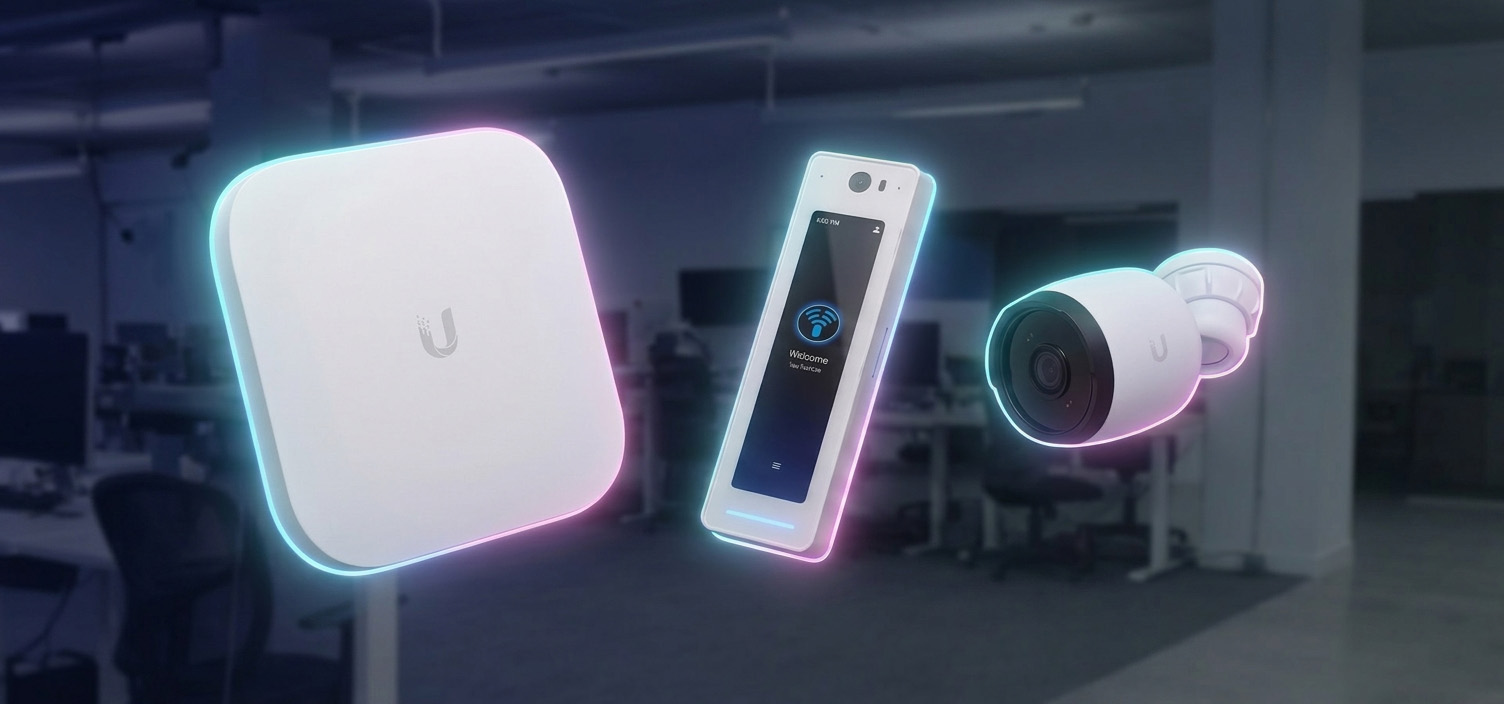
Furthermore, they need a security system consisting of 6 cameras.
Network Segmentation
We will establish the following networks:
- Main Network. All residents of the main house will use this network. The network will be both wired and wireless. All household devices (TVs, streaming devices, thermostats, network storage, etc.) will be connected to this network.
- Guest Network. Connection to the guest network will be possible only via Wi-Fi. This network will provide internet access, but there will be no access to the devices and resources of the main network.
- Work Network. This network is intended solely for work purposes. It will provide internet access and access to other devices within the work network (e.g., printer). Access to the home network will be restricted. This is relevant for those who use employer-provided computers with specialized software installed to monitor employees. It can be set up to allow access either only via Wi-Fi, only wired, or both.
- Tenant Network. This network will provide internet access and access to internal devices within this network. A connection can be made via Wi-Fi or wired using the network outlets in the ADU (Accessory Dwelling Unit).
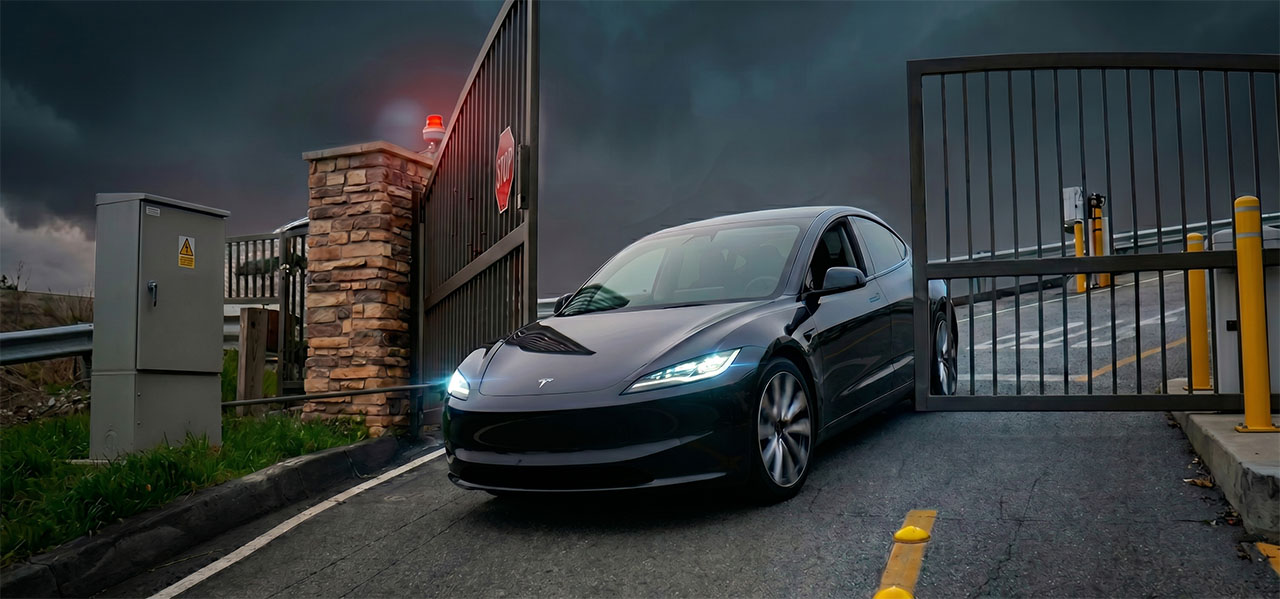
- Camera Network. This network will host only the cameras, with the cameras having static IP addresses. There will be no internet access. If a malefactor tries to connect via the camera cable, they will be unable to accomplish anything.
Architecture
Living Room
- Wired connection for the TV and other entertainment devices.
- Wireless Access Point (AP).
Office
- Wireless Access Point (AP).
- Wired connection for computers/printers etc.
Master Bedroom
- Wireless Access Point (AP).
- Wired connection for the TV and other entertainment devices.
Bedroom 2
- Wireless Access Point (AP).
- Wired connection for the Gaming PC and other devices.
Bedroom 3
- Wireless Access Point (AP).
- Wired connection for the TV and other entertainment devices.
ADU
- Flex Mini Switch
- Wireless Access Point (AP).
- Wired connection for the TV and other entertainment devices.
Topology

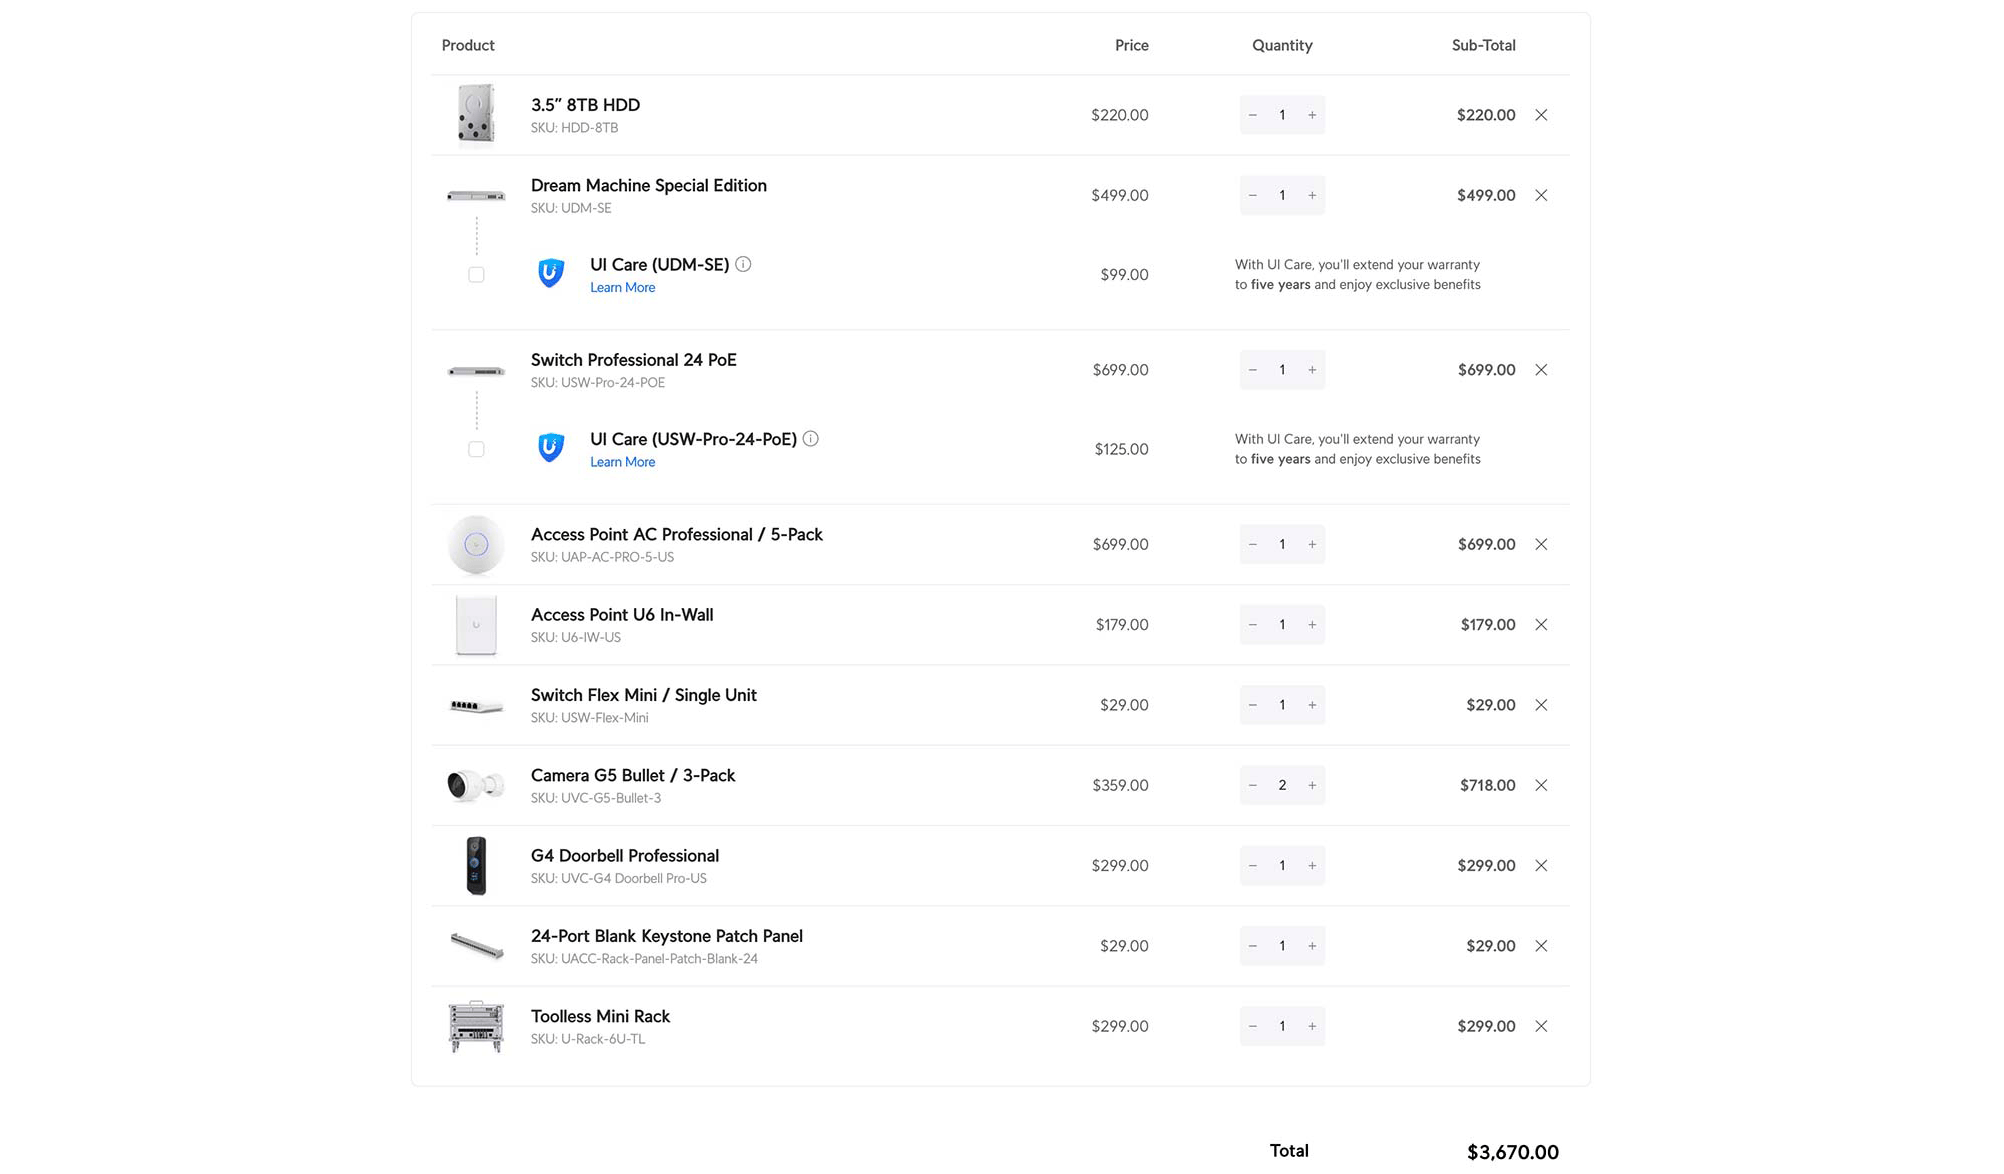
List of Equipment and Cost
Cost of Installation and Setup
The cost of installing Ethernet lines depends on the complexity. During construction or renovation, when the walls are open, the cost of each line will be $200-$300 (including the cable, termination or installation of wall plates on both ends). If the walls are closed and cables need to be routed through the attic/crawlspace, the price will be $300 and above. In the discussed example, there are 23 lines and the cost of their installation will be from $5000.
The installation of a video doorbell, cameras, and access points will be around $1200 ($100 per unit). Assembly, rack installation, and controller setup will cost $500. Thus, the cost of work on a similar project will be from $6700. The cost can vary greatly depending on the complexity of implementation and the number of devices. If you want to design a project and know its cost, feel free to contact us.