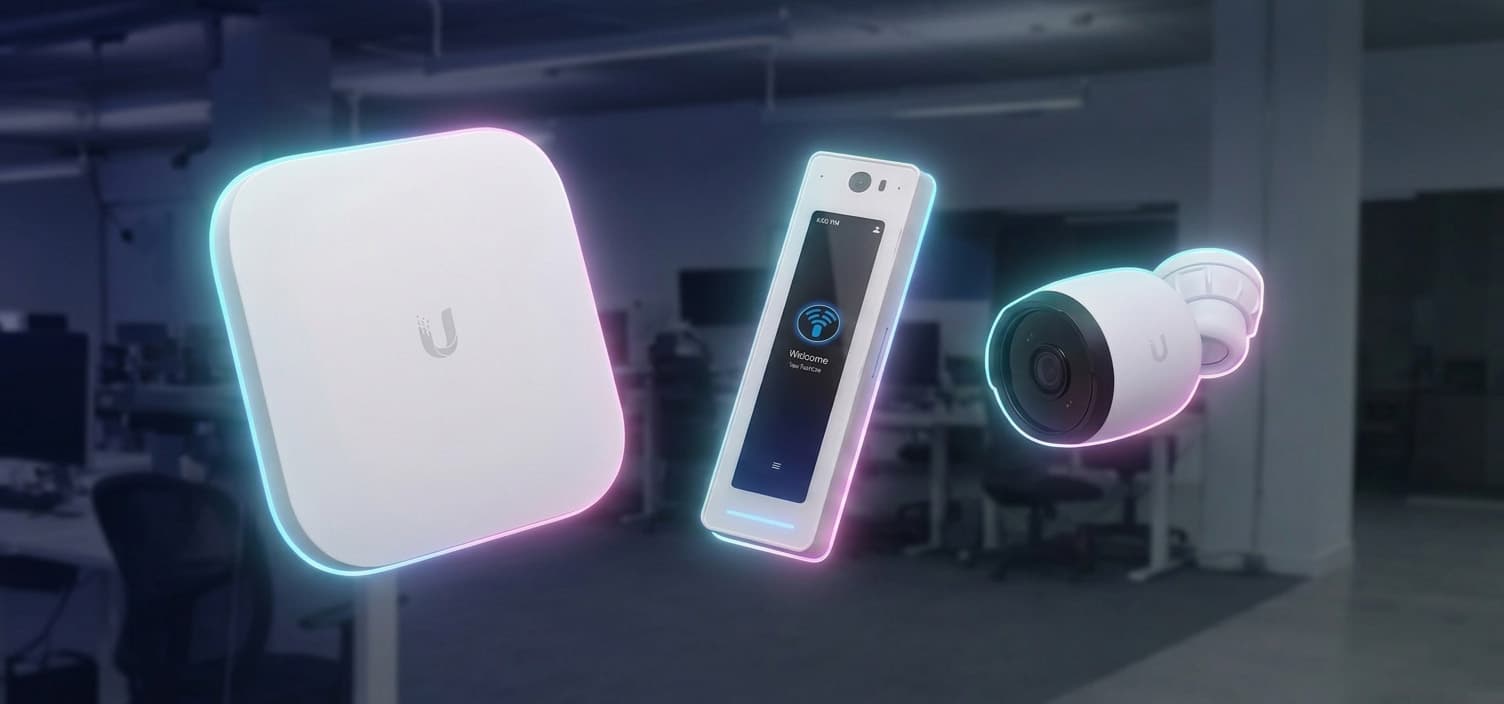
Ubiquiti Intercom Viewer and G2 Reader Pro Integration Guide.
Originally published June 3, 2024 | Fully Updated & Revised August 4, 2026
EXECUTIVE SUMMARY
A step-by-step configuration guide written by Vladimir Chasovskikh. This tutorial details the precise menu navigation required to pair the Ubiquiti UniFi Intercom Viewer (UA-Intercom-Viewer) with door terminals including the G2 Reader Pro (UA-G2-Pro) and G3 Reader Pro. It explains web-based UniFi Site Manager workflows, network prerequisites, and troubleshooting steps to enable instant two-way video calling and remote door release.
Introduction
The Ubiquiti UniFi Intercom Viewer is a compact, PoE-powered touchscreen monitor designed for residential apartments, reception desks, and security guard posts. When paired with an entrance reader terminal such as the G2 Reader Pro or G3 Reader Pro, the Intercom Viewer allows users to see live camera feeds, converse with arriving visitors, and trigger door locks remotely.
However, administrators setting up the system for the first time often notice that pairing an Intercom Viewer to a standalone door reader is not automatically handled upon adoption. Because this configuration is managed exclusively through the web-based UniFi Access application interface rather than mobile apps, missing a single menu layer will prevent call routing.
Below is the definitive technical procedure engineered by the YesTechie low-voltage team.
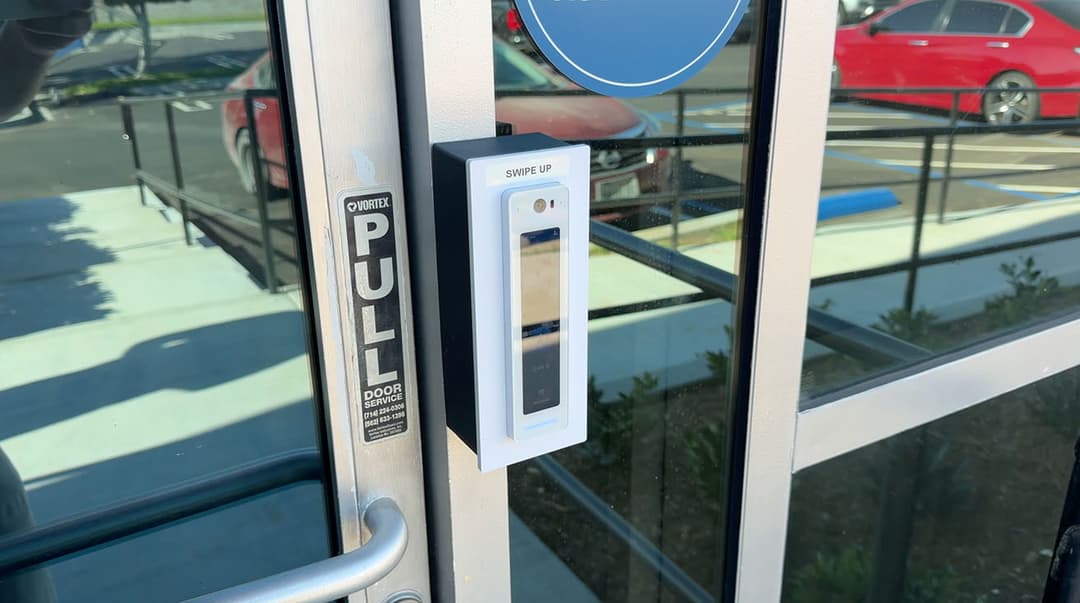
Prerequisites Before Pairing
Before initiating the pairing sequence inside the UniFi controller, confirm that your hardware deployment meets the following baseline requirements:
- Network Connectivity: The UniFi Intercom Viewer, Access Hub (UA-Hub-Door), and G2 Reader Pro / G3 Reader Pro must reside on the same local subnet or routed VLAN with open layer-2 communication.
- Power over Ethernet (PoE): Both the Viewer and Reader must be powered via standard 802.3af/at PoE ports on a UniFi switch.
- Application Updates: Verify that the UniFi Access application on your console (UDM Pro Max, Cloud Gateway, or NVR) is updated to version 2.0.6 or higher.
- Browser Requirement: The device pairing menu is only accessible via a desktop web browser. Mobile apps and mobile web browsers currently do not expose the Paired Devices management tab.
Step-by-Step Device Pairing Procedure
Follow these exact navigation steps inside the web interface to establish the video call path between the Intercom Viewer and the Reader Pro:
Step 1: Access the UniFi Site Manager
Open a Google Chrome or Firefox browser window on a computer, navigate to unifi.ui.com, log into your account, and launch the UniFi Access application for your specific location site.
Step 2: Navigate to the Intercom Viewer Device Panel
In the left-hand navigation sidebar, click on Devices (the controller icon). From the active hardware list, locate and click on your UniFi Intercom Viewer (e.g., named Temple or Apartment 101 Viewer).
Step 3: Open the Paired Devices Manager
With the Intercom Viewer side panel open on the right side of the screen:
- Select the Overview tab.
- Scroll down to the Paired Devices section.
- Click the blue Manage link.
Step 4: Select the Target Door Reader
Inside the pop-up modal window (Paired Device Manager):
- Switch the top toggle tab from Intercom to Reader.
- Check the box next to your desired entrance reader (e.g., Gate - Entry / UA G2 Pro or G3 Reader Pro).
- Click Save at the bottom right corner.
Once saved, the Intercom Viewer will show a green status dot next to the assigned reader, confirming that instant video calls and remote buzz-in triggers are active.
Technical Video Demonstration
For a visual walkthrough of the exact screen navigation inside the UniFi Access interface, watch our step-by-step video tutorial below:
Hardware Compatibility Note: G2 Pro vs. G3 Pro Readers
While this tutorial highlights the UA G2 Pro, Ubiquiti’s current hardware lineup includes the G3 Reader Pro. The software pairing logic inside the UniFi Access Site Manager remains 100% identical across both hardware generations.
Whether you are deploying legacy G2 units or upgrading to current G3 readers with enhanced optical sensors, following the Devices > Viewer > Overview > Paired Devices > Manage > Reader menu sequence will successfully establish your call routing.
Troubleshooting Common Pairing Issues
Issue 1: No Readers Appear Under the "Reader" Selection Tab
- Cause: The G2 Reader Pro or G3 Reader Pro has not been assigned to an active Door / Access Hub profile.
- Solution: Navigate to
Access > Doors, verify that your Reader Pro is linked to an Access Hub relay board, and ensure the door status shows Online. Unassigned readers cannot be paired to Viewers.
Issue 2: Intercom Viewer Does Not Ring Upon Button Press
- Cause: Dial code mismatch or caller directory policy misconfiguration.
- Solution: Open the Reader settings panel, check the Directory / Touchscreen Call settings, and confirm that the assigned user or room number matches the Dial Code configured on the Intercom Viewer (e.g., Dial Code: 007).
Issue 3: Video Stream Lags or Drops During Call
- Cause: Insufficient PoE power allocation or excessive network hop latency.
- Solution: Ensure the Intercom Viewer is connected to a dedicated Gigabit switch port supplying full 802.3af PoE (min 15.4W). Avoid cascading cheap unmanaged switches between the Viewer and the main UniFi gateway.
Related Field Projects & Integrations
Explore how YesTechie engineers deploy UniFi Access Control and Intercom hardware across real-world commercial and residential sites:
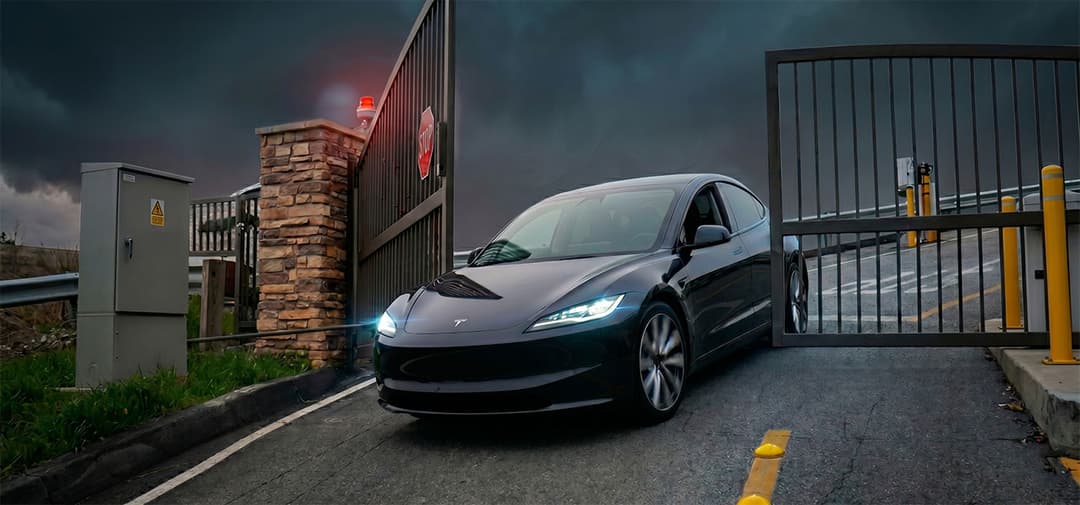
1. Automated Gate Access Control & LiftMaster Integration
- Overview: Complete deployment pairing the G2 Reader Pro with LiftMaster gate controllers, custom 3D-printed gooseneck mounting boxes, and automated user schedule rules.
2. Multi-Floor Network and Access Scaling for BuildOps Headquarters
- Overview: High-density enterprise SaaS office installation featuring 5 secure G2 Reader Pro entry paths, Wi-Fi 7 coverage, and centralized UniFi cloud control.
3. Automated Security and Access Control for Malibu Gated Community
- Overview: Multi-checkpoint HOA deployment combining UniFi Intercoms, U7 Pro Outdoor Wi-Fi, and AI License Plate Recognition (LPR) cameras over a long-distance fiber backbone.
Conclusion & Professional Installation Services
Properly pairing your UniFi Intercom Viewer to entry readers ensures seamless visitor communication and instant door releases across your facility. If you are experiencing complex VLAN routing constraints, installing multi-door commercial access systems, or require professional low-voltage cabling, the YesTechie team is ready to assist.
Our certified technicians handle complete site evaluations, door hardware integration, and turnkey system provisioning nationwide.
Need assistance with your setup? Explore our Ubiquiti Installation Services or contact the YesTechie engineering team directly at (818) 275-2707 for a technical consultation.
Frequently Asked Questions (FAQ)
Can I pair one Ubiquiti Intercom Viewer to multiple G2 or G3 Reader Pros?
Yes. Inside the Paired Device Manager modal, you can select multiple readers. When a visitor presses the call button on any assigned entrance reader, the Intercom Viewer will chime and display the corresponding live camera feed.
Can I complete the Intercom Viewer pairing using the UniFi Access mobile app?
No. As of current UniFi OS releases, the Paired Devices > Manage menu option is exclusively available through the desktop web browser interface at unifi.ui.com.
Does the UniFi Intercom Viewer require a separate software license?
No. Like all Ubiquiti UniFi Access and Protect hardware, the Intercom Viewer operates on a 100% license-free model. There are zero ongoing monthly software fees or per-user subscription costs.